Sagging hardtop headliner repair
I own two Allantes. One a 92 with a converted phase 1 hardtop and the other a 93 original factory hardtop car with 29,000 miles. I also own a 91 phase 2 top. All three hardtops have sagging headliners on the hardtops. The one on the 93 was so bad that the headliner was hitting the top of my head. I decided to open up the headliner on the 93 to see if I could fix the problem.
The removal of the headliner is fairly straight forward. There are several side trim pieces that need to be unscrewed. There are some panels that are held on by push rivets. These need to be released. I was able to pry them loose and get a long handled screw driver behind the rivet to pop it loose.
Once the perimeter panels are removed the headliner backing board is visible. There are 14 additional push rivets around the perimeter that need to be released to remove the headliner backing board. Be careful with these 14 rivets because most likely your backing board is brittle. More on that later.
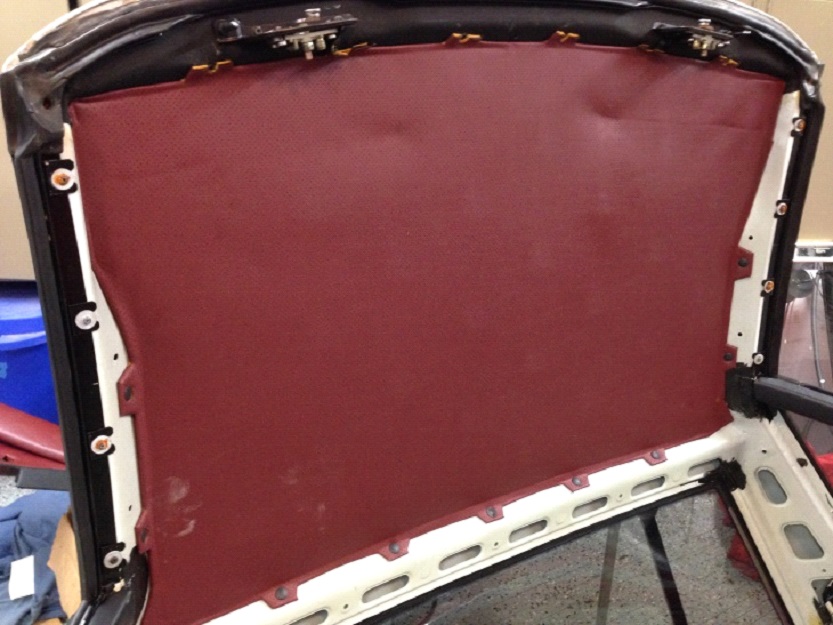
Once the backing board was in the shop I removed the headliner material and the first problem became apparent. The headliner material was backed up with a thin foam backing. This foam had completely separated from the fabric. In some cases it had to be vacuumed up. After the fabric was removed the second and more pressing problem became apparent. The headliner backing board with age had dried out and was literally falling apart. If not careful large chunks could be broken off the backing board. There are companies out there that make replacement
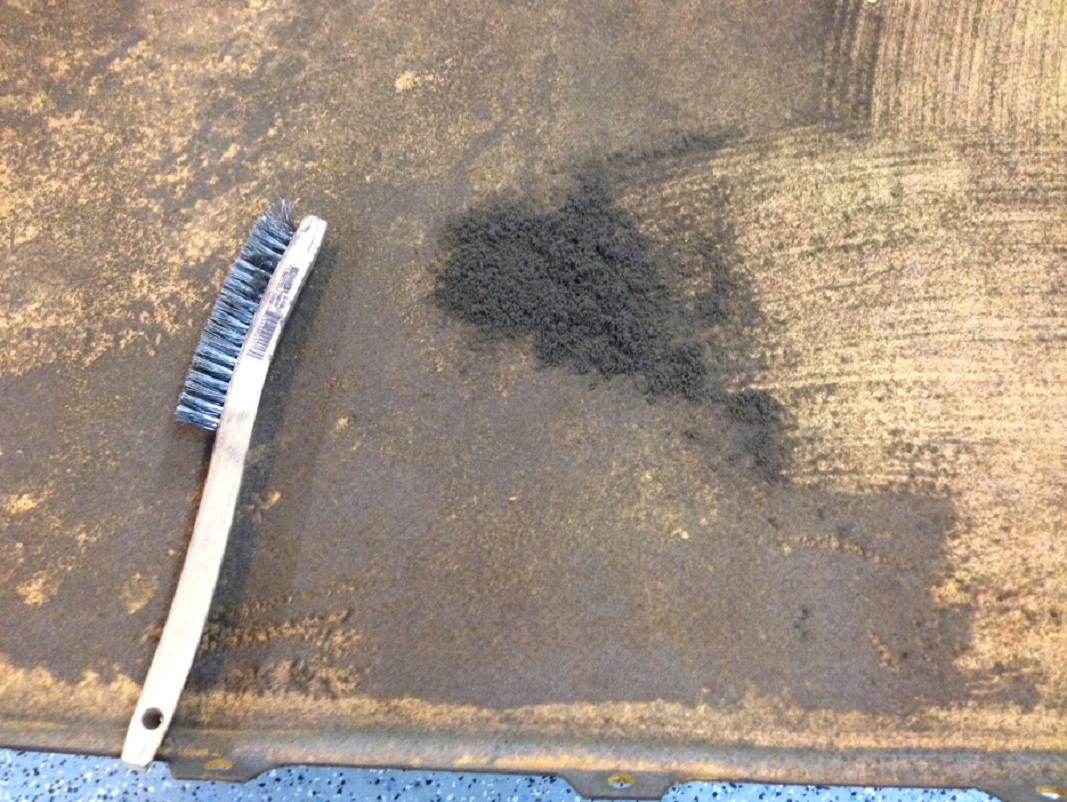
headliner backing boards out of plastic but you guessed it not for the Allante. The board is a molded item that cannot be replaced with just flat cardboard. It was apparent I needed to save my backing board. First I used a wire brush to CAREFULLY remove any of the old foam backing that was still attached to the backing board.
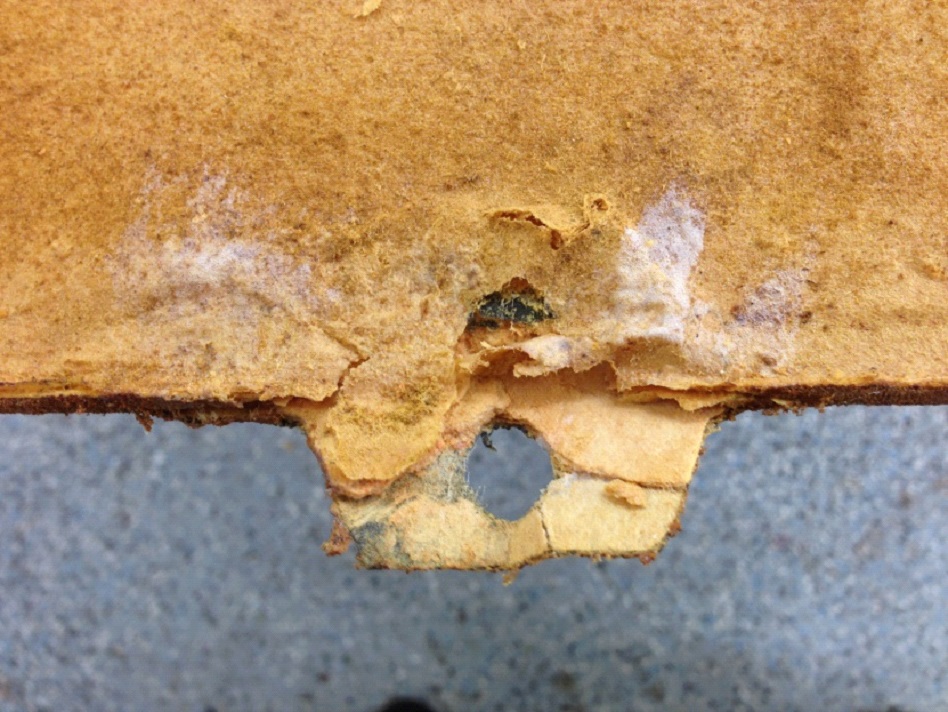
Several of the 14 retaining tabs on my backing board had broken off. What I elected to do was to replace the tabs and reinforce the original backing board with epoxy resin and fiberglass at all locations. Since once the fiberglass and resin have hardened the tabs would not be very flexible obtaining the right angle of the tab in relationship to the rest of the board is important. Most of my tabs still in place exhibited the angle I needed. I supported the tab at the right angle until the resin hardened.
I purchased the resin (you need one quart) from Lowes home center for about $15. I had some fiberglass mats left over from another project but if you need any they sell kits that contain both fiberglass mats and resin at auto supply stores.
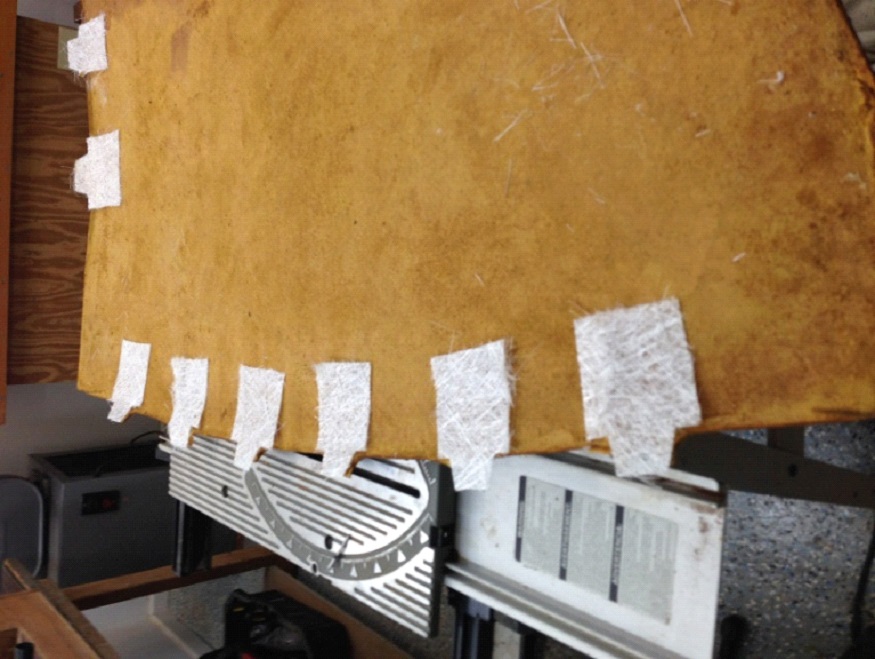
My first step was to apply resin and fiberglass mats to the tab areas. I extended the mats about three inches past the edge of the board to obtain more strength. I put mat on both sides of the board to get as much strength as I could around the edge. I did one side at a time allowing the first side to harden before turning the board over. After both sides had hardened I applied resin only to the side of the board that would have the material attached to it. Put on a lot and let it soak in. The original condition of the board would not allow for good adhesion of the new fabric without the resin impregnating the old cardboard.
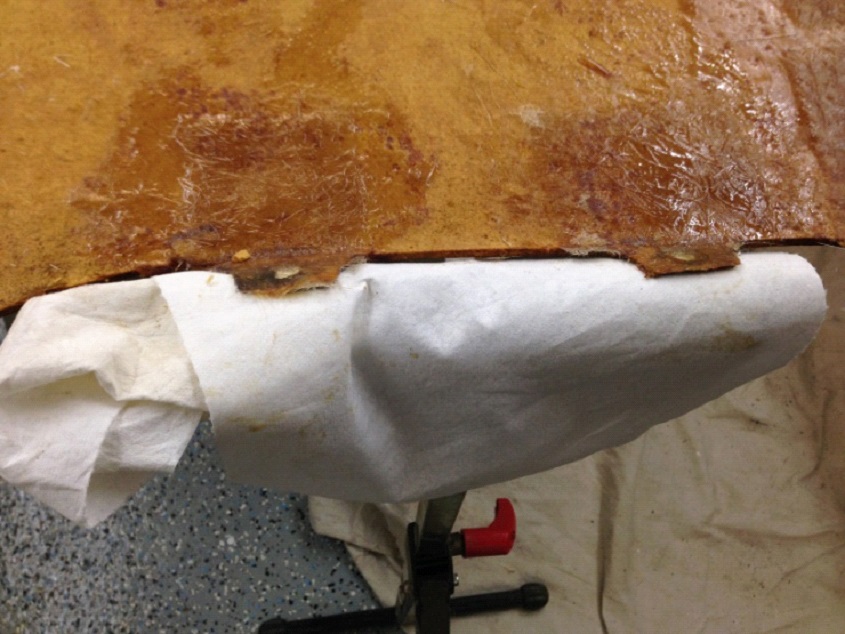
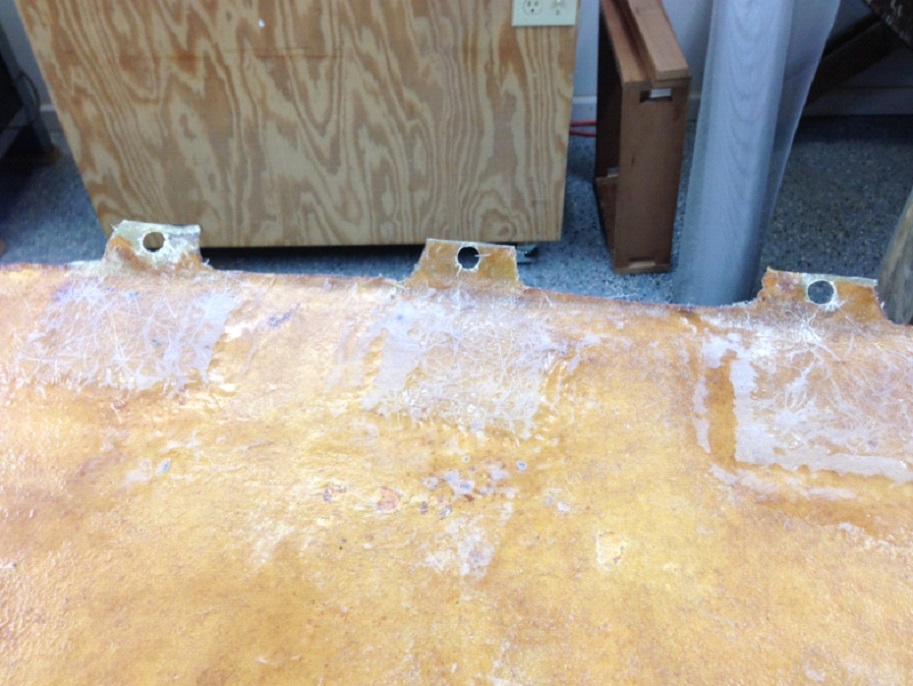
With that done I noticed there were some depressions on the fabric side of the board where pieces of cardboard had fallen out prior to the resin application. I made up some Bondo and filled the holes much as you would when doing body work. I then sanded the surface smooth. I was concerned that any major imperfection below the fabric might be visible after the fabric was applied.
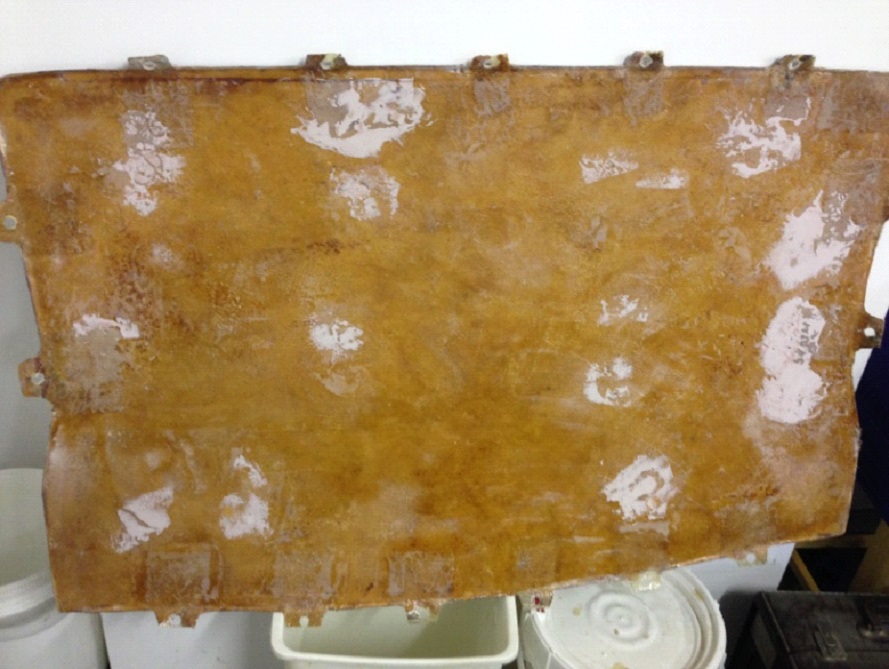
The board was now reinforced and ready to apply new Fabric. For this I took the backing board to my favorite auto upholstery shop. Since the type of fabric for the headliner on the 93 is unique to that year we checked around until we had an almost perfect match. The cost for material and labor from my upholstery man was $50 to recover the top headliner.
